FIELD MANUAL // 08
Winning
Victory conditions, domination, shared victory, and what elimination costs
This chapter covers how games end: the four victory paths, the objectives that drive them, and what happens when a player is eliminated. For reading all of this mid-game, see Reading the Scoreboard.
What it means to win
A game can end four ways: one player runs the table, two players walk out together under a truce, an author-built objective is completed, or the round limit hits and a tiebreak decides it. Most maps keep two or three of these live at once. Knowing which ending is closest is the difference between a flailing endgame and a clean one.
Four terms carry this chapter (full definitions in the Glossary):
- A Bonus Group is an objective tile that pays you each turn while your bonus holdings meet its requirement.
- A Constellation is a named win condition built on Bonus Groups. Holding one long enough is what wins (or counts toward a win).
- A Victory Category groups Constellations. Some maps count completed categories instead of raw Constellations.
- Domination is last player standing. Always available.
Bonus Groups earn. Constellations win. The two verbs never swap.
The victory ladder
Every map declares which victory conditions are on. They stack in tiers:
Tier 0 — Domination. The floor, on every map, impossible to turn off. When only one player remains, they win outright, even on a map built around objectives. Players are eliminated when they lose their last territory; there is no surrender and no way back in.
Tier 1 — collect Constellations. The map names its Constellations and a number to hit. You win by holding that many of them long enough, each one for its own hold-turns count. Tier 1 rewards focus: lock down the Constellations you can defend and ignore the rest.
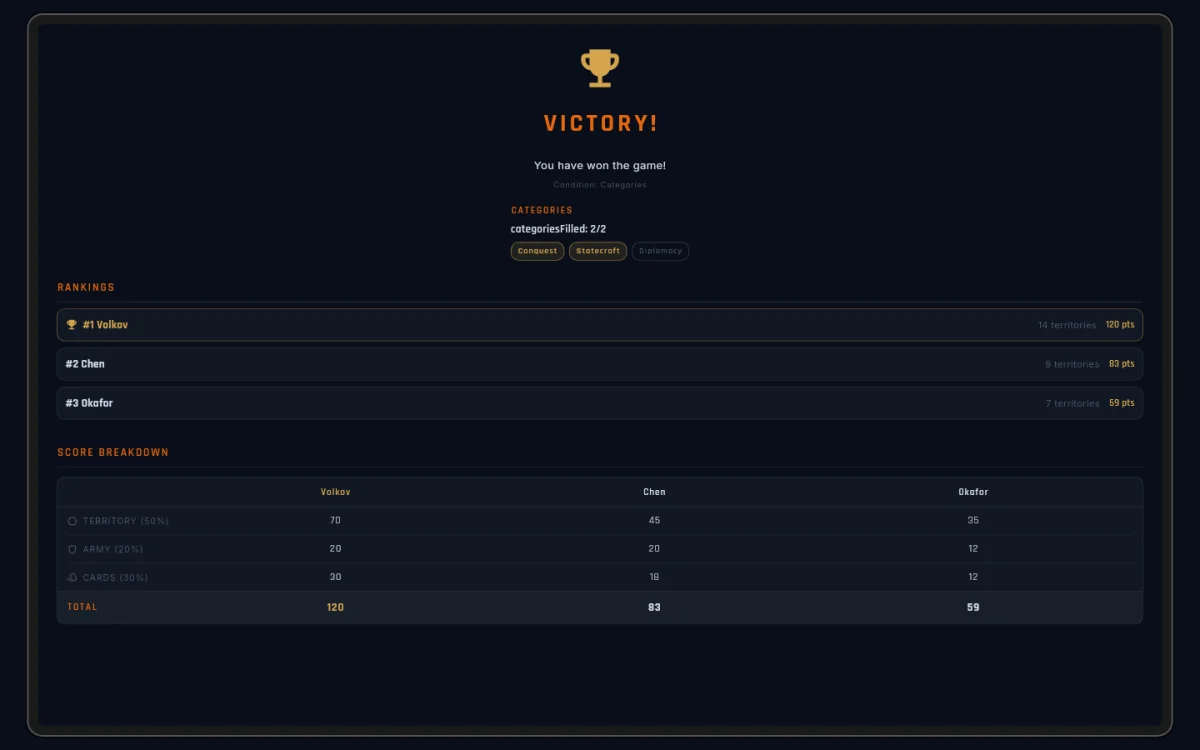
Tier 2 — fill categories. The map groups its Constellations into categories and asks for a number of distinct categories instead. Two Constellations in the same category count once. A map uses Tier 1 or Tier 2, never both: Tier 1 rewards depth in one corner, Tier 2 forces you to range across the board.
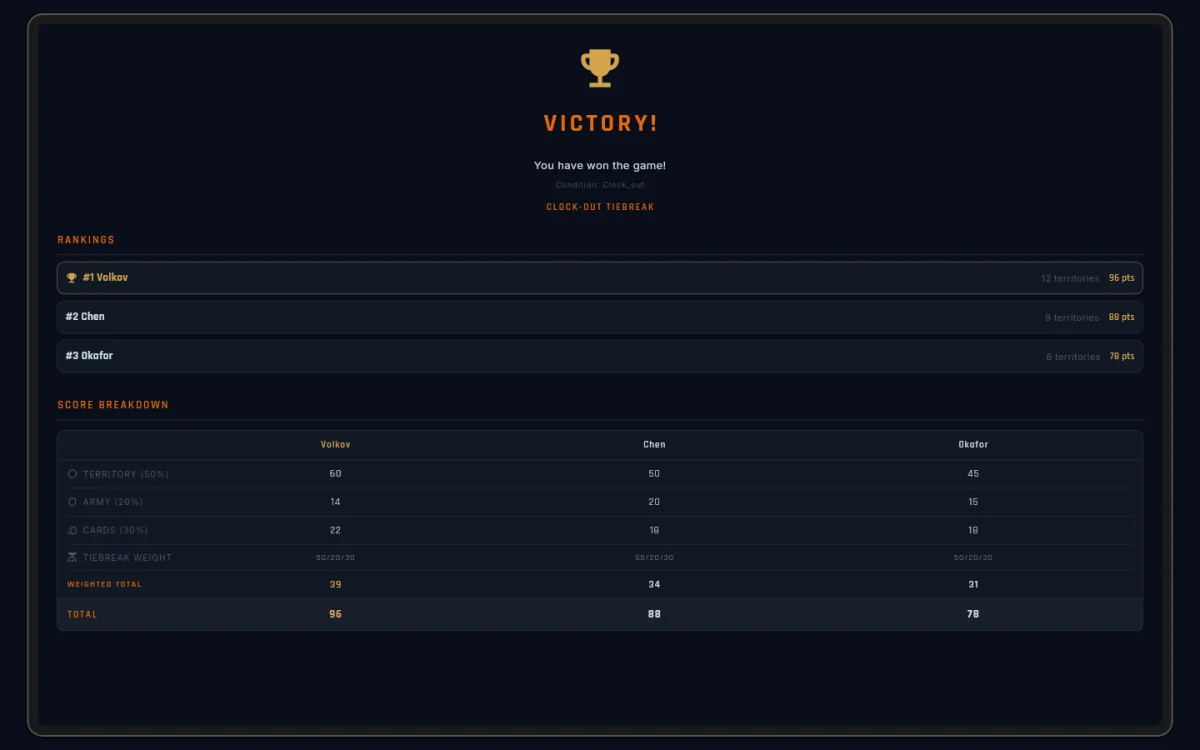
Tier 3 — the clock. If nobody has won by the map’s round limit, the game ends and a tiebreak ranks the players: progress toward the objective gate first, then how close each in-progress Constellation was, then the same 50/20/30 score Shared Victory uses. Hosts can adjust the round limit per game.
Pressure and the IMMINENT pill
Constellations don’t complete quietly. As your held turns build up,
you cross the Constellation’s pressure point — normally half the
hold requirement, rounded up, unless the author moved it. Crossing it
publishes an event and lights the amber ★IMMINENT pill beside your
name on the scoreboard, when the author left the pressure broadcast
on (see the table below).
That pill is the table’s chance to react: a public objective under pressure gives your rivals a round to break it before it lands.
Authors control how loud all of this is with two settings per objective:
| Objective visible? | Pressure broadcast? | What the table experiences |
|---|---|---|
| yes | yes | everyone sees the goal and the warning |
| yes | no | everyone sees the goal — but no alarm when you’re close |
| no | yes | nobody knows what you’re chasing, until the alarm says you’re near |
| no | no | nobody sees the objective or your progress at all |
Bonus Groups
Bonus Groups are what Constellations are made of. A Bonus Group pays you each turn (troops or card ticks) while your bonus holdings meet its requirement. You don’t win a Bonus Group; you hold it and collect, for as long as the requirement stays true.
Requirements
A group’s requirement is built from the same pieces you’ll see named on the scoreboard: Specific bonuses (hold a named bonus), Count by type (hold N of a kind), Count from set (hold N from a list), and All of / Any of / Not to combine them.
You never read these as raw rules. The scoreboard draws each requirement as a short outline, like “hold any 2 of: Northern Reach · The Spire · Iron Coast”, and every name in it is tappable to ring the territories on the map.
Payout shape
How a bonus pays depends on its shape, and the badge tells you which you’re looking at:
| Shape | When it pays | Badge |
|---|---|---|
| All nodes | only when you hold every territory | 3/5 (all) |
| Threshold | in full, once you hold at least N | 3/5 (min 3) |
| Scaled | per territory, from the first one | 2/6 with the payout under it |
A scaled zone has no gate — it’s always paying you your share. Its “held” mark matters only to objectives: the author sets the fraction at which a scaled zone counts as held for a requirement, and that never changes what it pays.
Payout ramps
A Bonus Group’s payout can also grow the longer you hold it:
- Immediate — full payout from the first turn.
- Linear — climbs steadily from a starting value to a final one.
- Step — jumps at set milestones.
Ramps are the author’s pacing lever. Immediate groups feel good the moment you take them; ramps reward the player who’s held on for six turns over the one who just snatched it.
Public and private groups
Every authored group is listed on the scoreboard for everyone — the group itself is public map information. What an author can hide is your relationship to it: a private group shows opponents nothing about your progress, and its changes stay out of their news. The same fog that hides a garrison hides your progress on a private group.
Domination
When one player remains, they win outright. Everyone else has been eliminated — territories conquered, cards inherited, agreements dissolved. On maps with no authored objectives it’s the main ending (a two-player truce can still end the game; see Shared Victory below). On every map, eliminating the field is a valid path.

Shared Victory
When exactly two players remain and an active Ceasefire stands between them, the game ends immediately in a shared win. No more turns — the truce is the ending. Shared Victory is two-player only by design.
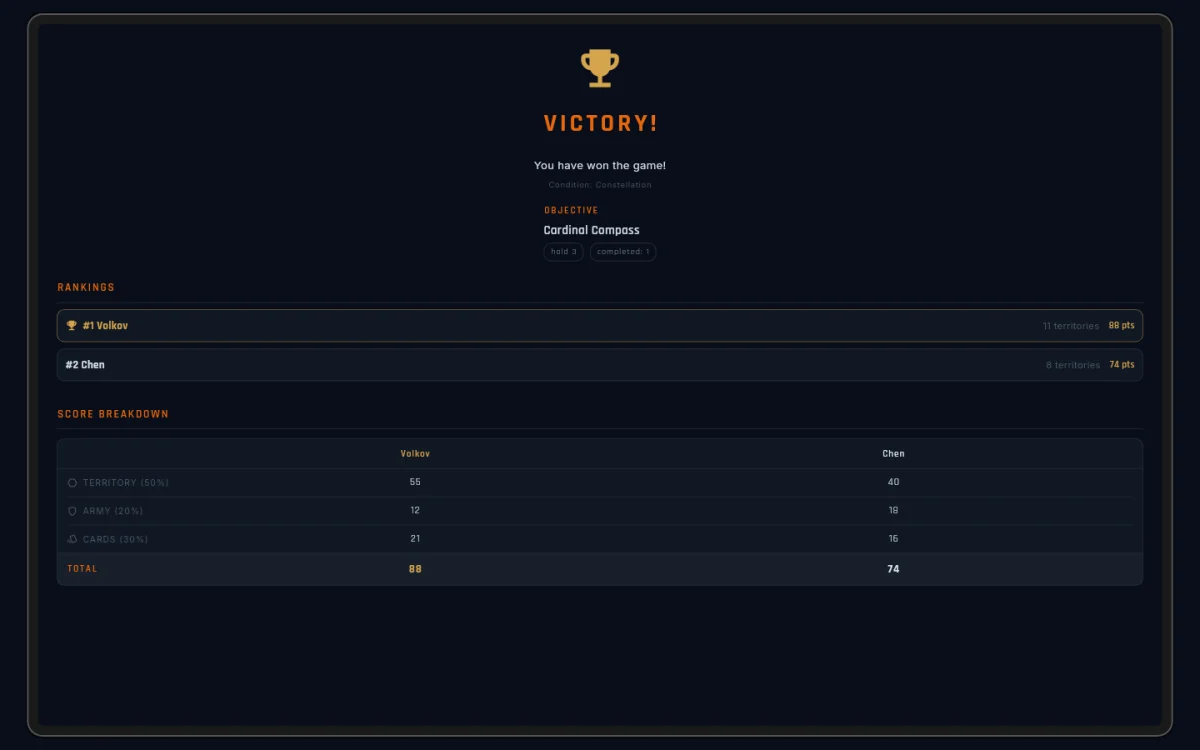
The win splits by a weighted score:
| Part | Weight |
|---|---|
| Territory you control | 50% |
| Total troops | 20% |
| Card points in hand | 30% |
Card points by type and card tier (card tiers, nothing to do with the victory ladder):
| Card type | Tier 1 | Tier 2 |
|---|---|---|
| Value | 1 | 2 |
| Agreement | 2 | 4 |
| Standalone | 3 | 6 |
Shared Victory runs alongside the tier ladder — on a Tier-1 map two survivors can race the objectives or truce up and split. Hosts can turn it off in custom game settings for an elimination-only game.

The end-of-game report
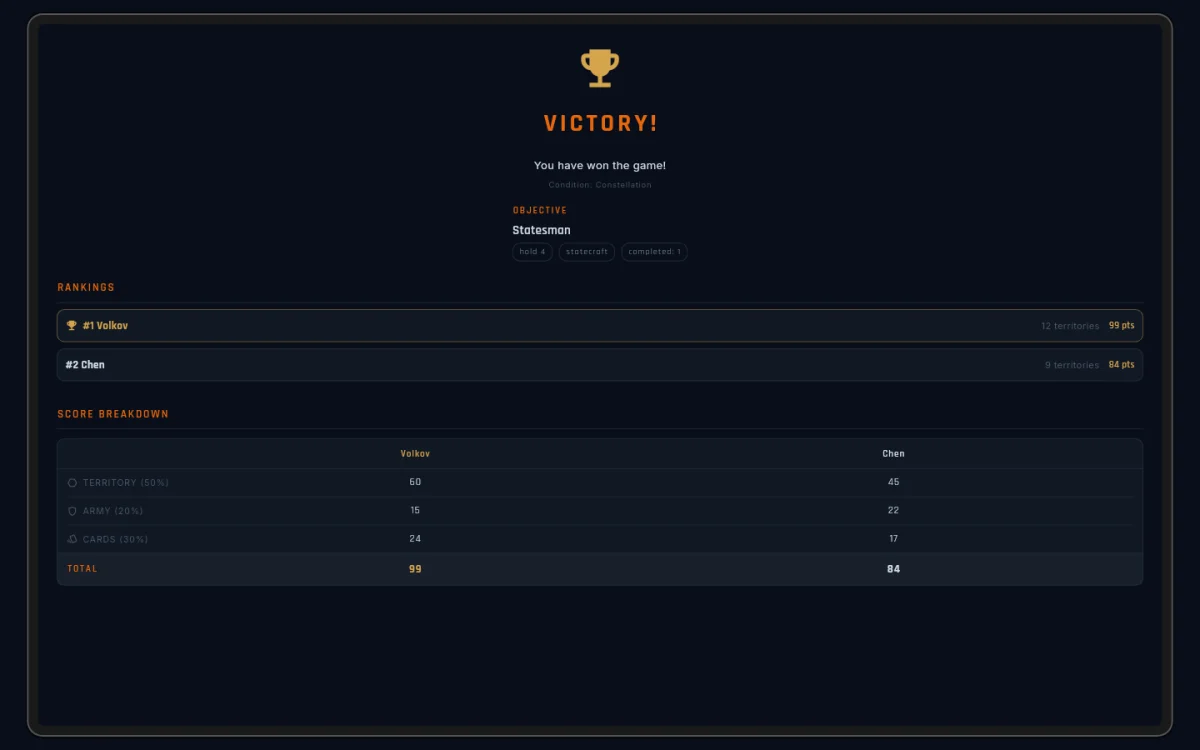
When the game ends, a report card opens showing how the win happened. Its shape follows the ending: a Domination win names the survivor; a Constellation win names the winning Constellation, its hold requirement, and its category; a category win shows a strip of category chips, coloured by which were filled; a clock-out shows the tiebreak readings in order.
The report is the game’s record, not a menu — it archives with the game and stays readable from your profile’s History tab.
Elimination consequences
When a player falls, it ripples:
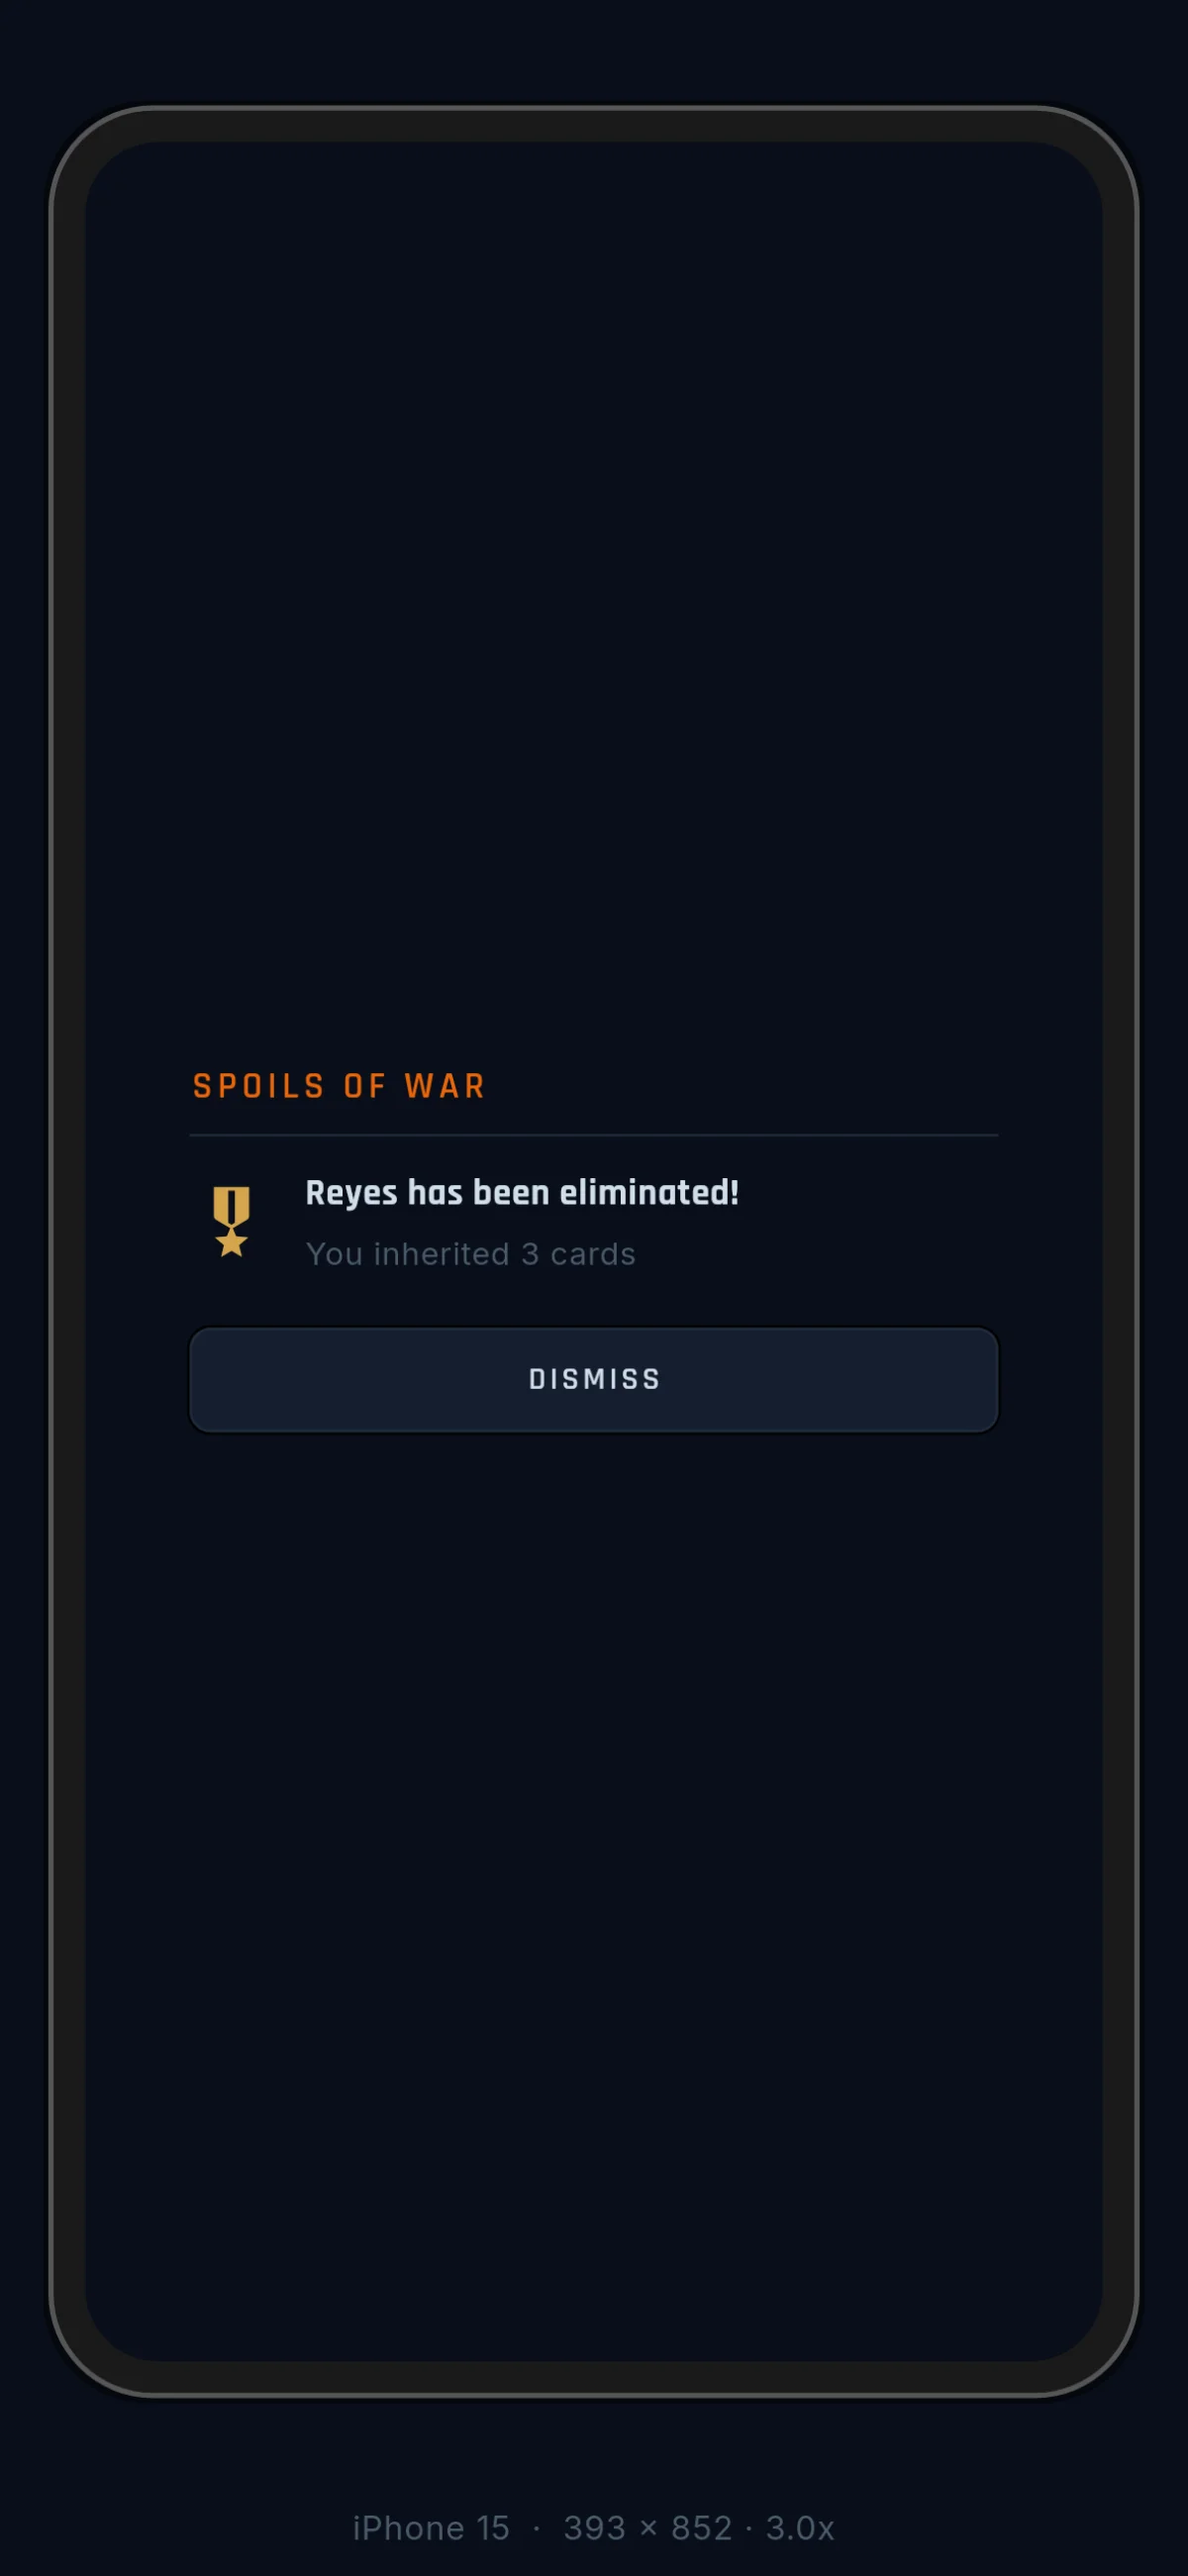
- The eliminator inherits their entire hand. A windfall — or a problem, if it pushes you past the hand limit. Inherited overflow sends you to the discard picker; you choose what to drop. (Cards you earn past the limit just burn quietly; see Cards.)
- All their agreements dissolve immediately. Ceasefires, transfers, partnerships — gone at once. One elimination can redraw the whole diplomatic map.
Eliminating a player is always a big swing: the inherited cards can shift the balance of power, and the voided agreements create openings (and crises) for everyone left.
One related ending is not an elimination: attacking your Manufacturing Partnership partner voids that deal on its own, lopsidedly. See Agreements.