FIELD MANUAL // 07
Tactical Cards
When to reach for each standalone card, reading combat reports, and the stop-loss threshold
This chapter is about judgment: when each card is worth playing, how to read a combat report, and how to attack without going all-in. Exact numbers, durations, and counters live in the Card Reference.
Standalone cards are solo plays. You play them between turns (the window while it isn’t your board turn), within the play limits, and most effects land at your next turn start. Two act on the spot: Forced March moves its troops the moment you play it, and Betrayal breaks its agreement the moment you play it. Betrayal is also the only standalone that needs an active agreement to target.
The tactical eight
Betrayal ends any of your active agreements, at a brutal price: half deploy for twice the agreement’s remaining turns. Play it when the value of breaking the pact now beats several turns of weakness — or hold it, because its existence alone makes every partner cautious. Betrayal cards are rare. Note that a Manufacturing Partnership also dies when one partner attacks the other, with no card and no Betrayal penalty; see Agreements.
Forced March mass-moves troops between two territories you own, destroying half on the road. It’s the speed play: rescue a doomed garrison, or mass for an assault one turn sooner than normal moves would allow. The losses hurt; pay them only when arriving sooner is worth more than the troops you lose.
Foreign Aid gifts one card to another player, privately. Arm an ally, settle an informal debt, or tilt a rivalry you’re not part of. It costs two cards, so the gift has to buy something diplomacy can’t.
Duration Modifier moves any running clock in either direction: agreements, Fortify, Trap, Unrest, Patriotic Duty, even your own Betrayal penalty. One card in hand is a lever on every timed effect on the board. Stretch a truce that’s working; cut an enemy’s Patriotic Duty short instead of fighting through it; end an Unrest before it touches enough fights to matter.
Trap turns one of your territories into an ambush — invisible until an attacker conquers it and loses half or more of the conquering force. The cost is the lock: your garrison can’t leave or attack out while the trap is armed. Scouts are the counterplay, in both directions: Recon spots a trap safely, Infiltrate springs it onto its own defender.
Fortify makes one territory cost attackers half again as many troops. Like Trap, the garrison locks in — a stronghold, not a staging ground. If the territory falls anyway, the buff dies with it.
Patriotic Duty hardens a whole bonus zone with an extra defense die. It can target anyone’s zone: harden your own home, shore up an ally’s defense, or freeze a contested zone into a stalemate that suits you. The die belongs to whoever held each territory when the effect began — capturing into the zone strips the benefit from the territory you take.
Siege starves an adjacent enemy garrison without rolling dice. The defender bleeds troops every turn and can strike back only at you. Use it where you outnumber a position you’d rather not assault — and guard the other approaches, because the siege ends the moment reinforcements reach the defender from another direction.
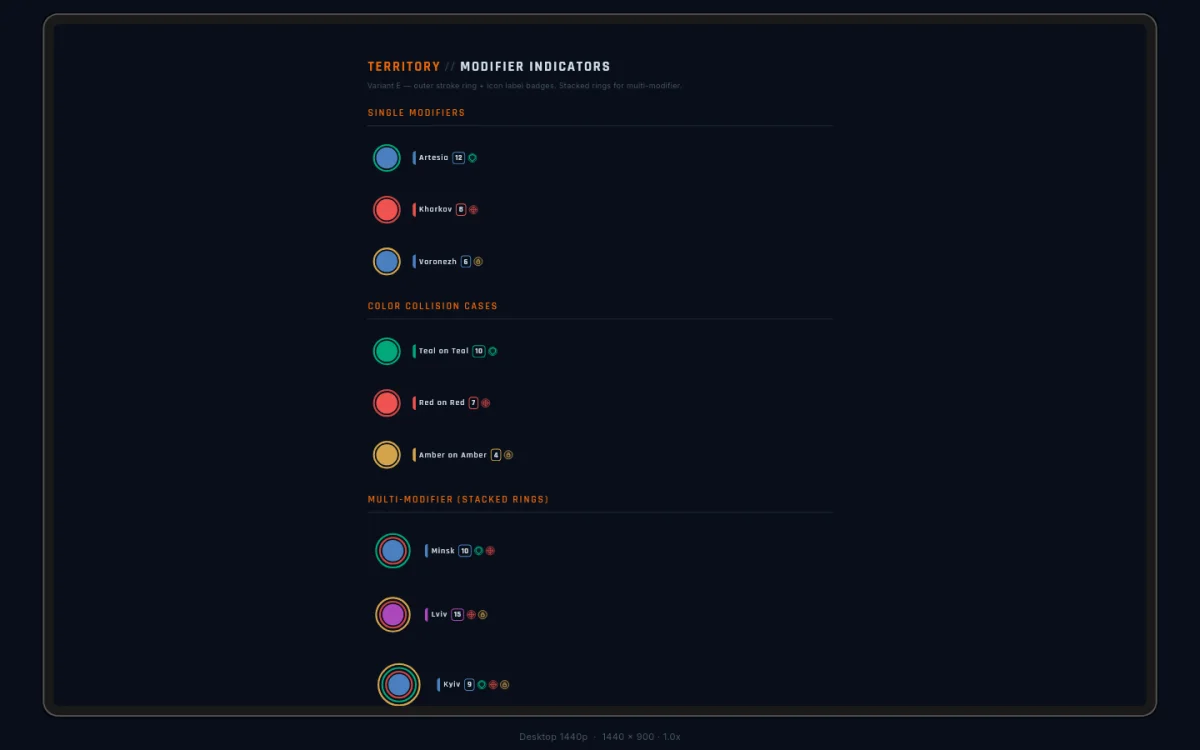
Reading a combat report
When a zone effect changed the dice in a fight, the combat report says so on the same line:
Defended with 2 dice (−1 from Unrest) Defended with 3 dice (+1 from Patriotic Duty) Attacked with 3 dice (no modifiers)
The note doesn’t change the math — it tells you why the math was what it was, right where you read the result. Fights with no active modifiers carry no note.
Attacking with a stop-loss
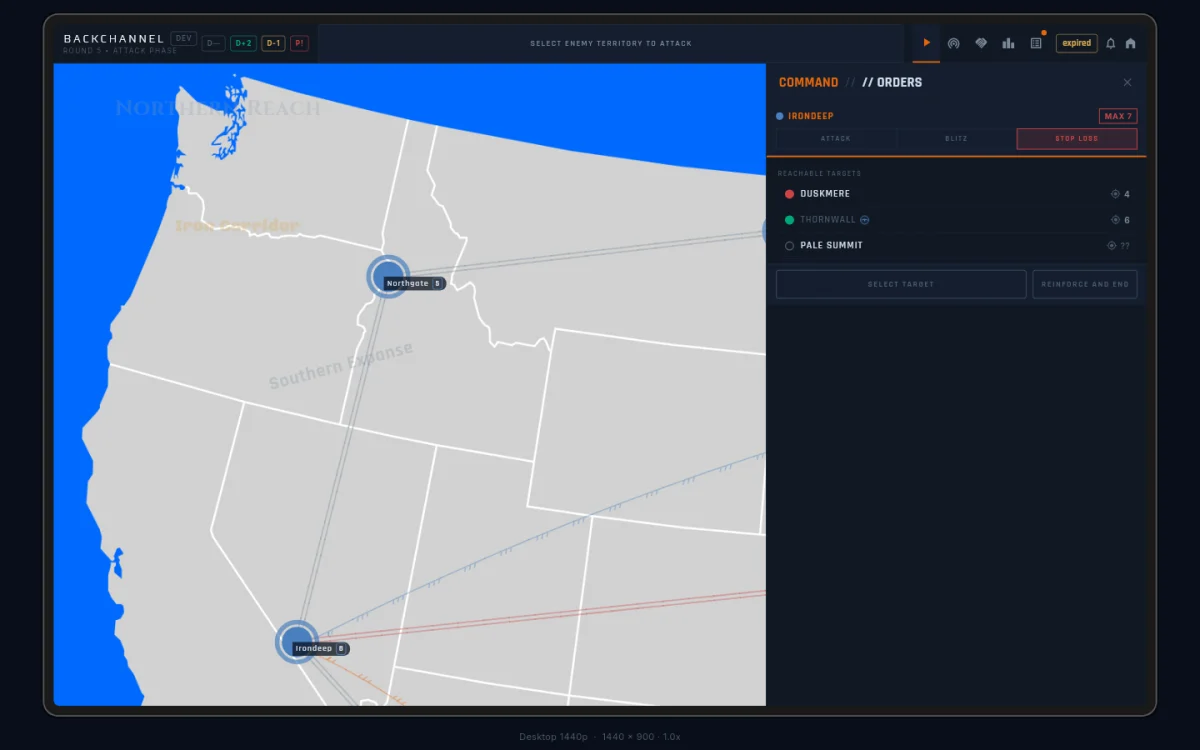
An unchecked blitz is all-in: the dice roll until one side is gone. The stop-loss threshold puts a floor under that. You decide, before the dice roll, how much risk of losing you’ll accept; if your live odds get worse than that, the attack halts on its own with your remaining troops parked at the source.
The RISK% chip
The attack header carries a chip reading RISK X% — your current
chance of losing the fight as the game computes it. It counts upward
toward the aggressive end and changes color at fixed marks:
| RISK% | Color | Read it as |
|---|---|---|
| under 25% | green | comfortable: you win 3 times in 4 or better |
| 25–49% | yellow | favorable: better than even odds |
| 50–69% | orange | unfavorable: worse than even odds |
| 70% and up | red | dangerous: you lose 7 times in 10 or more |
Learn all four colors. The chip is the at-a-glance signal; the slider below is the lever.
The STOP LOSS slider
The attack footer carries the STOP LOSS slider, the same
[-] X% (──bar──) Y% [+] shape as the other action sliders. It snaps
in 5% steps, and dragging right raises the risk you’re accepting.
The slider opens at the safest setting this matchup allows; drag right to accept more risk. The hatched zone at the left end marks settings the matchup can’t deliver — you can’t demand safer odds than the fight already has. The cap label beside it shows the safest reachable setting; tap the label to snap back there.
Commit with the orange hold-to-fire button, labeled like
RISK 30% → STONEHAVEN. Hold it about half a second; it won’t fire
while you’re still dragging.
The halt
When the game halts your attack, the RISK chip pulses red for a moment and the dice stop. No popup, no log entry. The quiet is intentional: a stop-loss that fired is the lever doing its job, not an error. If you want the details afterward, open the source territory’s inspector.
Your odds are recomputed after every round of dice, against the troops still standing — not the starting counts. That’s why an attack that looked safe at launch can halt three rounds in: your side thinned faster, the live odds slid under your threshold, and the game pulled you out.

Negative bonus zones
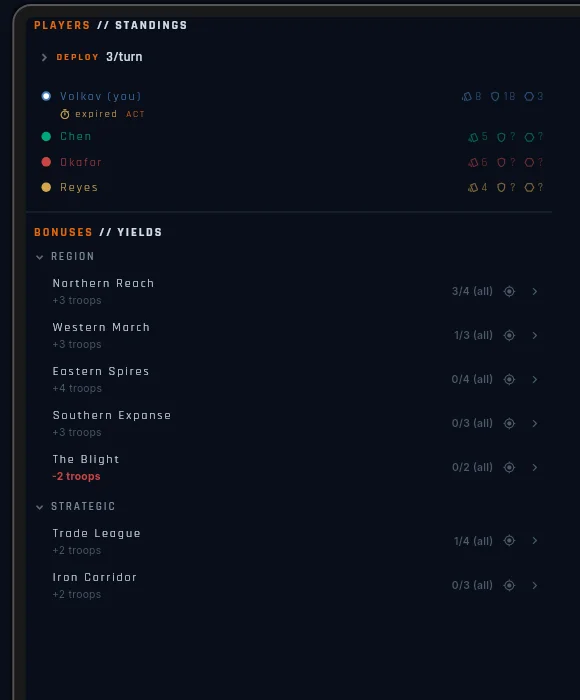
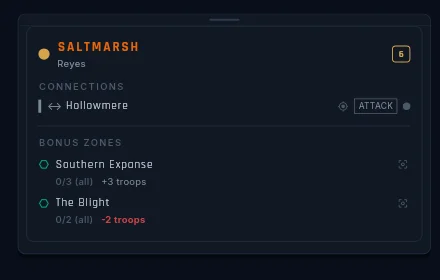
Some bonus zones pay less than zero. Hold a negative zone and you pay its cost every turn — fewer troops to deploy, or a drag on your card income. The cost arrives the same way the zone would pay if it were positive: a zone that pays per territory charges per territory, and a hold-everything zone charges when you hold everything. Negative zones show in bold red everywhere: scoreboard, territory inspector, and the map editor. The color is the warning.
Read a negative zone backward from a normal one. With a normal bonus, taking every territory is the goal; with a negative one, stopping short is. If you must push into one, take only the territories the rest of your plan needs.
Authoring guidance (where to place one, what to pay) lives in Cartography → Bonus Zones.
Discard overflow
Your hand caps at 15 cards. What happens past the cap depends on how you got there — the full rule is in Cards → Hand limit. The short version: cards you earn past the cap burn quietly on their own, and cards you inherit past the cap send you to a discard picker where you choose what to drop.
Only one thing triggers the picker: eliminating a player hands you their entire hand. Dropped cards burn; they don’t return to the dead player’s side.
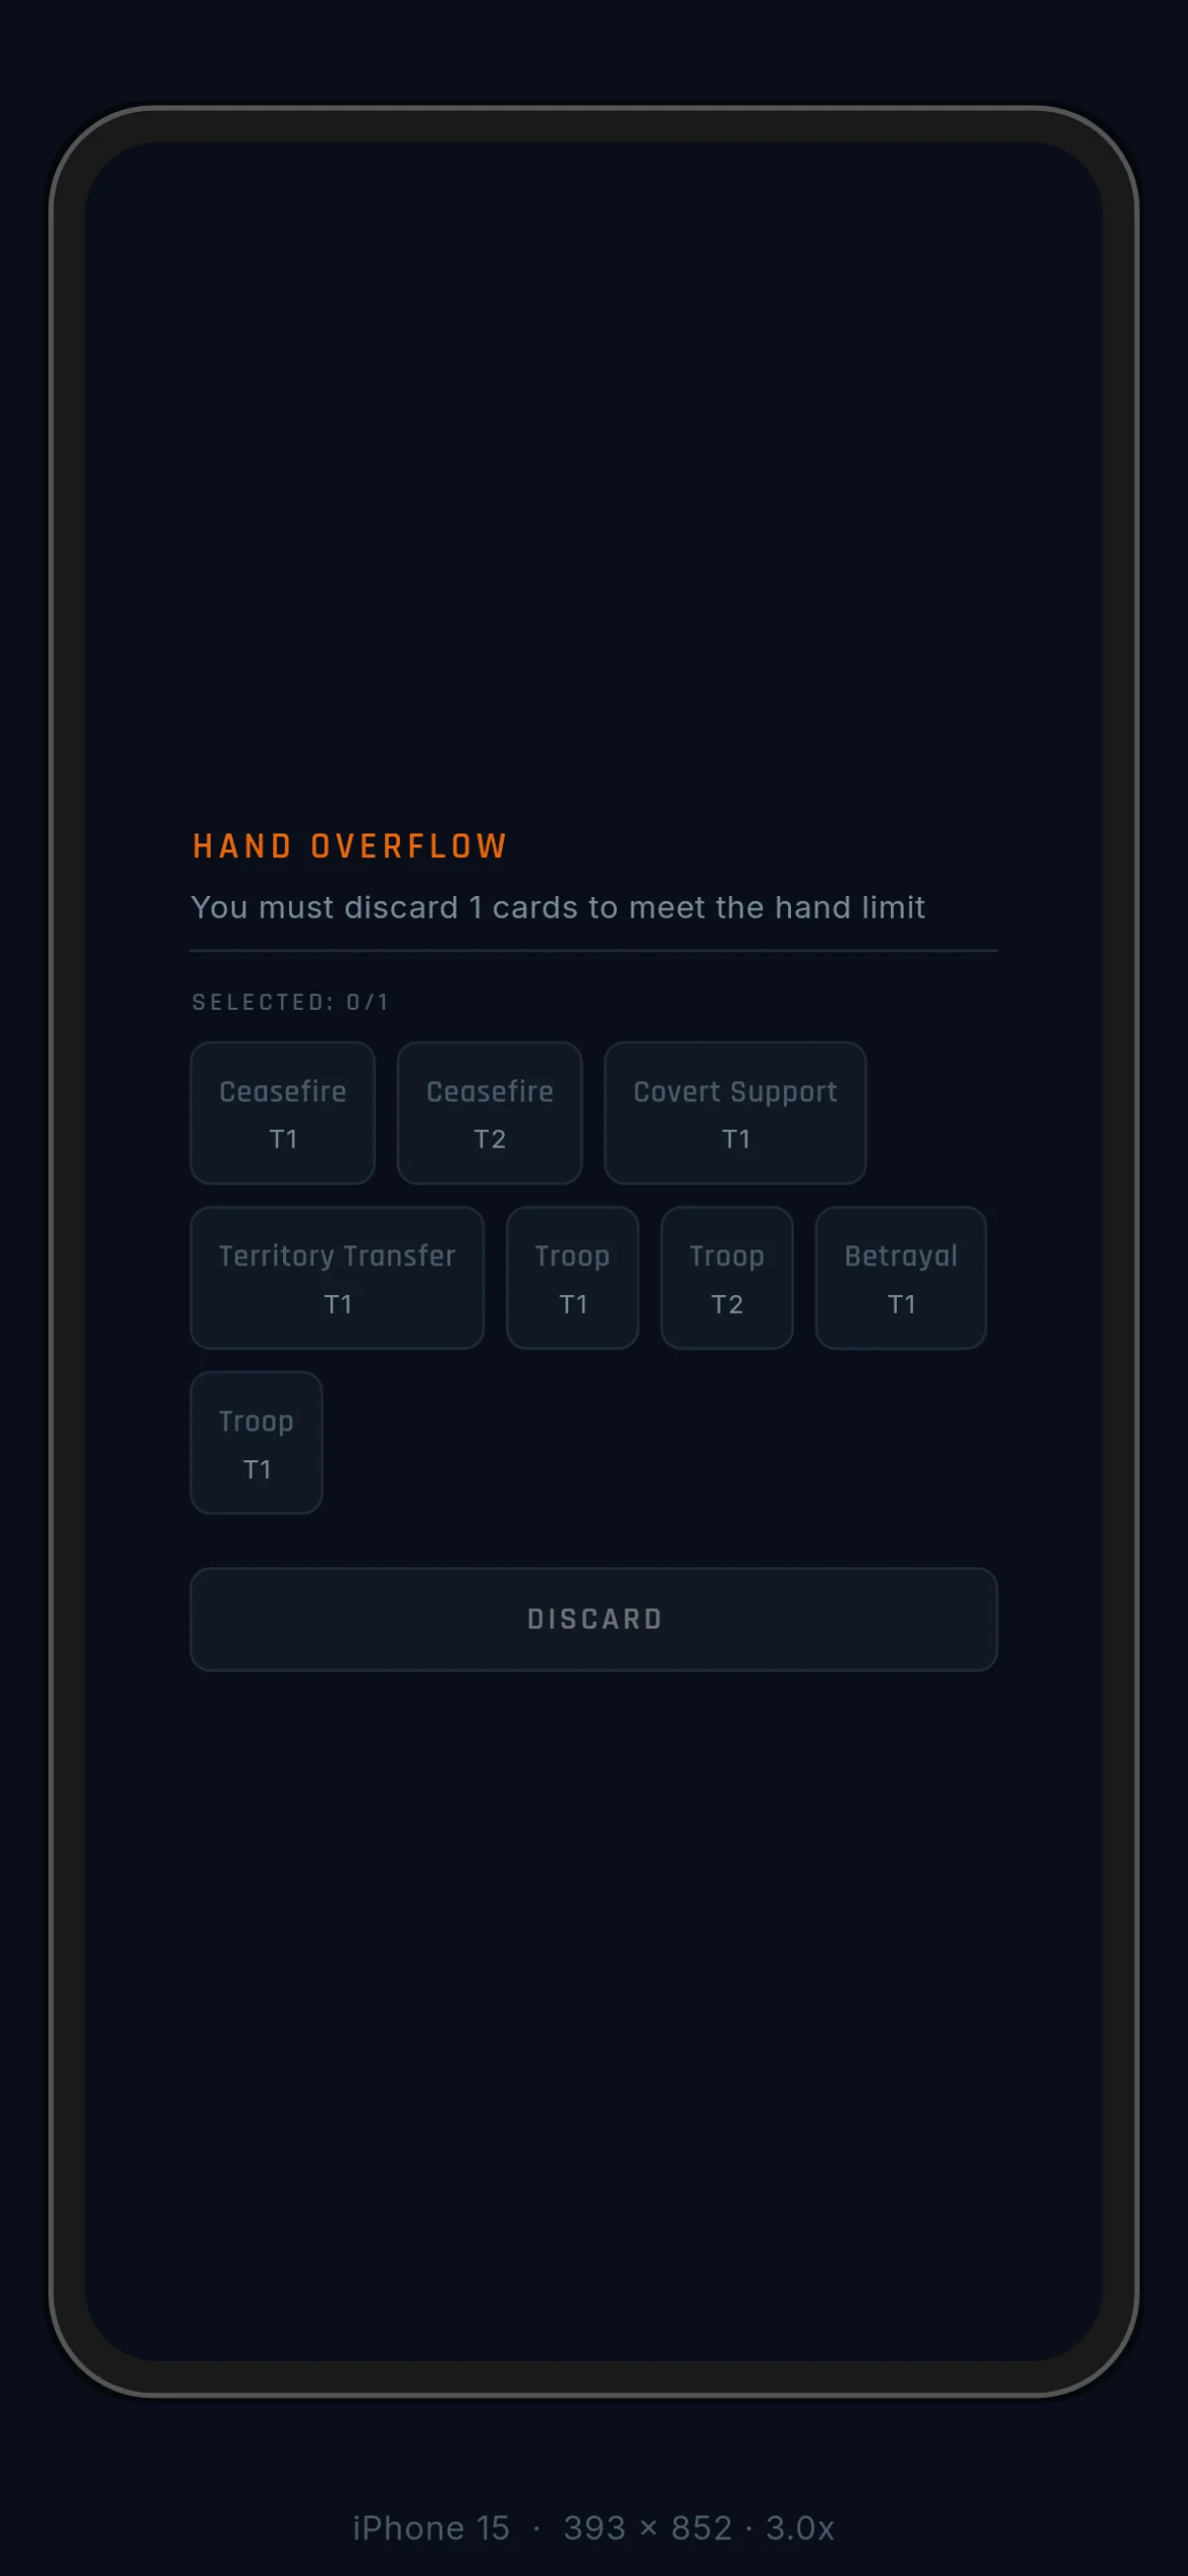
For the rest of the elimination windfall, like voided agreements, see Winning → Elimination consequences.